Some people love ceiling fans - others don’t care for them. But we can probably all agree that they’re incredibly functional, especially in the heat of summer.
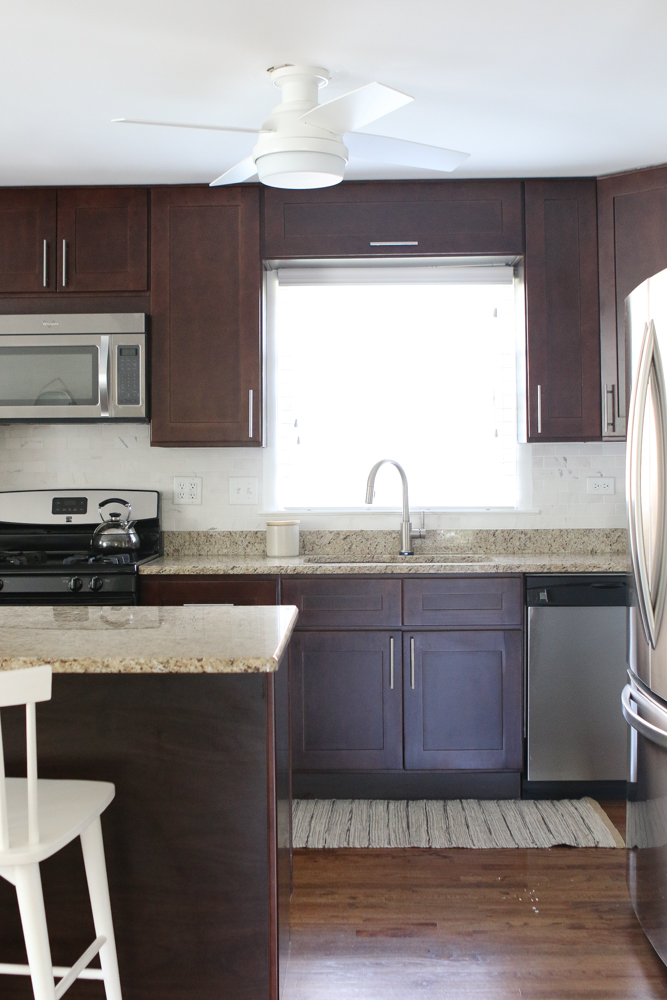
If you don’t love the look of your ceiling fan, try updating to a more modern, sleek option. That way you get both function and fashion in your space, which is a win-win in our playbook!
There’s no need to call an electrician for this project - installing a new ceiling fan is something you can do in less than an hour.
Supplies
- New fan
- Screwdrivers (flat and Phillips)
- Voltage tester
- Ladder
- Wire cutters
- Wire caps
- A buddy
1. Turn the power off
This is by far the most important step for this project. To stay safe when working with the electrical wires, turn off the power to the ceiling fan.
Turn the switch on and off, and use a voltage tester to confirm that there’s zero power running to the ceiling fan before you proceed.
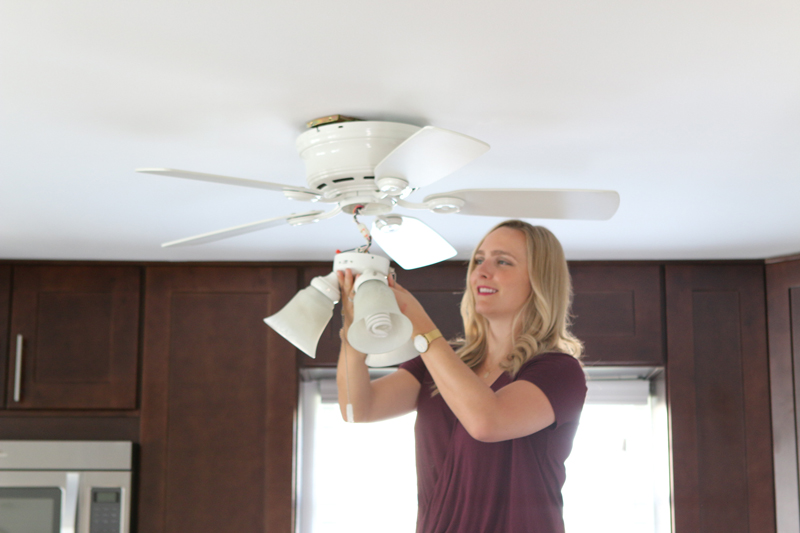
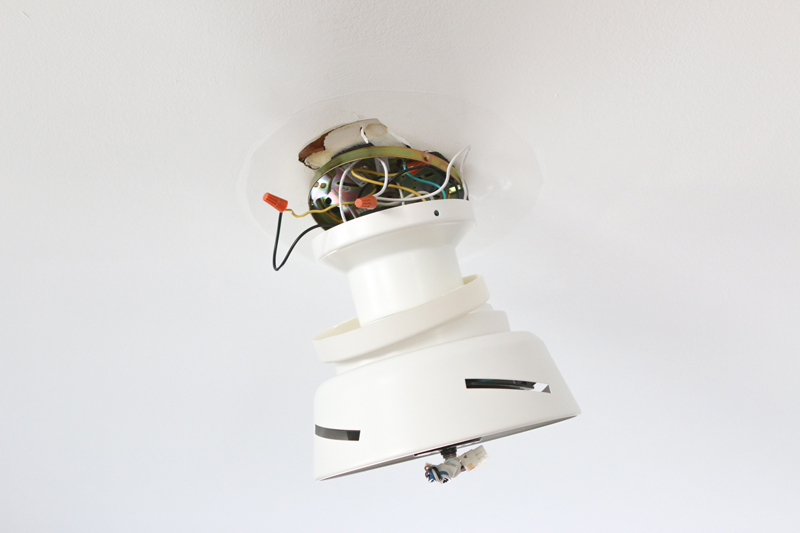
2. Remove the old fan
You’ll need your screwdriver for this one - and a buddy to hold up the fan while you work. It’s an arm workout, so make sure your helper is ready to hold it as you quickly remove it.
The process will depend on your fan’s model, but you’ll most likely start by removing the light fixture, the fan blades and then the base.
Basically, start unscrewing pieces of the light and fan until you get it all off - just remember to snap a picture of how the wires were connected. Are they red to red? Black to black? Take a photo to help you translate those same wire connections to the new fan.
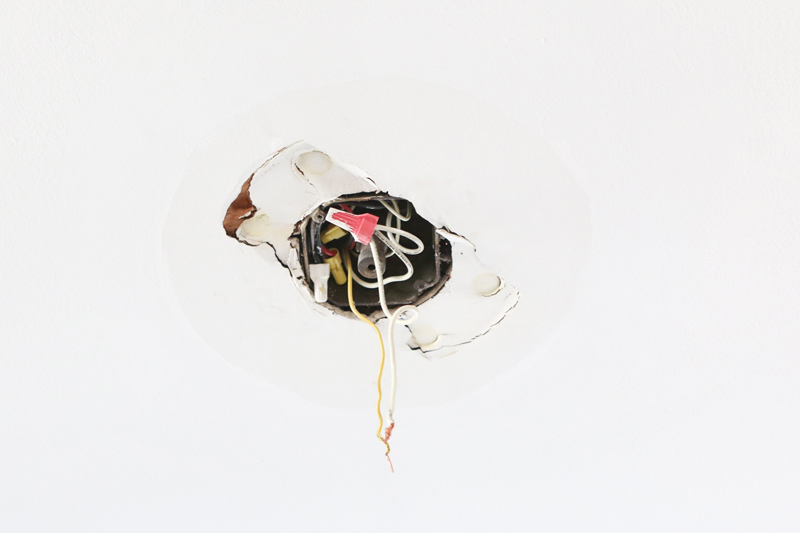
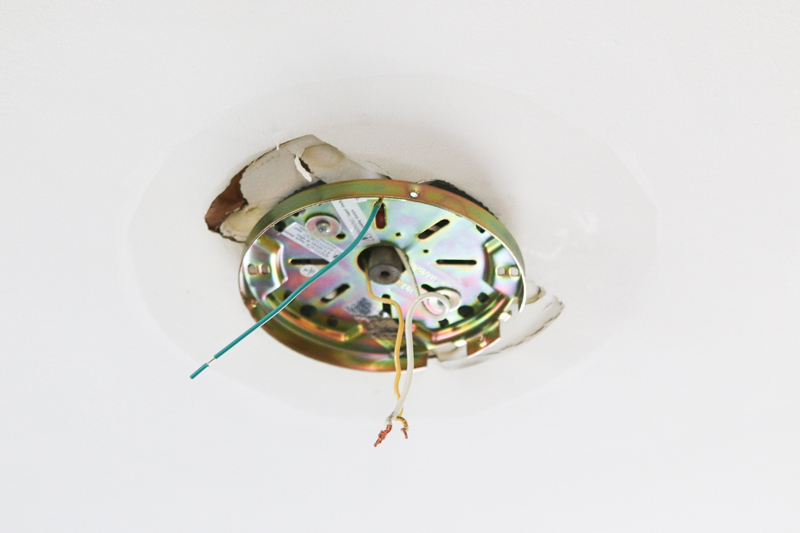
3. Install the ceiling bracket
Now it’s time to install pieces of the new fan. First up is the ceiling bracket. Use the screws that come with the new fan, and secure it into the holes on the electrical box.
Bring the wires from the ceiling through the center hole. In our case, that was one white wire and one yellow wire (plus the green one on the ceiling bracket).
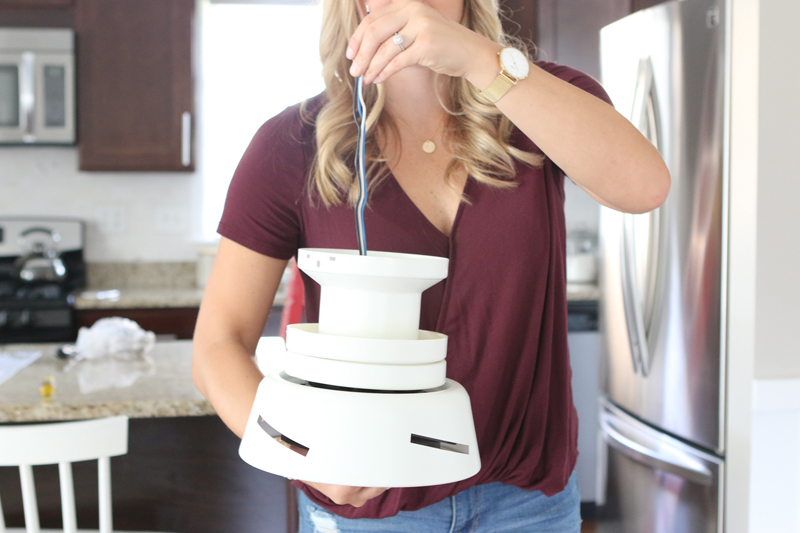
4. Prep the fan
This next step will depend on the make and model of your particular fan, so follow the directions to assemble it correctly.
For ours, we installed the canopy and download assembly, making sure to bring the wires all the way through. You may also need to grab your wire cutters and cut the wires a bit shorter at this point.
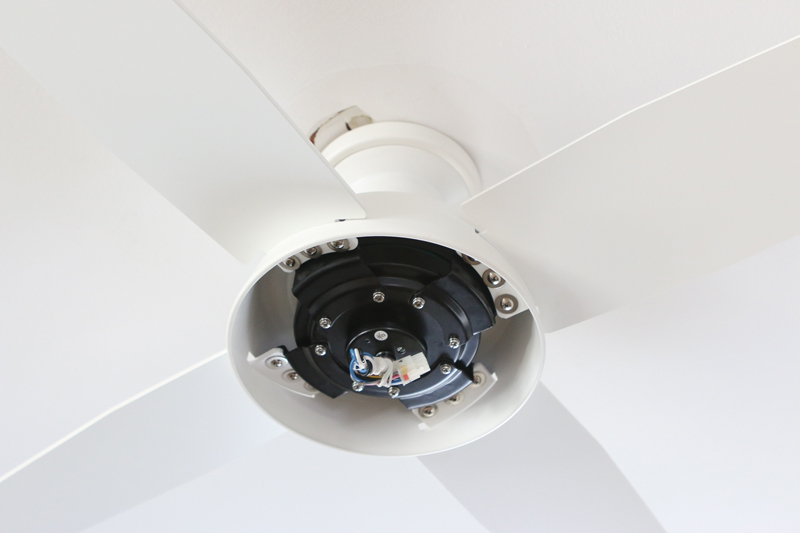
5. Attach canopy and wires
Bring your assembled fan base up to the ceiling, and hook it into the ceiling bracket. Most new fans have a feature that allows you to rest the fan on the bracket so you don’t have to hold the weight while connecting the wires. This will save you some serious arm pain!
Once the fan is secure, connect your wires. We had three sets of wires to account for: wires from the ceiling, wires from the fan, and wires from the receiver inside the fan (which lets us use a remote control).
First, we connected the ground wires from the ceiling, fan and ceiling bracket. Next, we connected the wires for the remote control - yellow to black, blue to blue. Finally, we connected the neutral wires (white to white) and hot wires (black to yellow).
Note: The wire colors may be different depending on your fan model and the wires in your ceiling.
Use the wire caps to create secure connections. You don’t want any wires slipping out when you push it all up into the ceiling, so it's important to really twist on those wire caps.
We then tucked the wires neatly into the ceiling and screwed the canopy’s base into place.

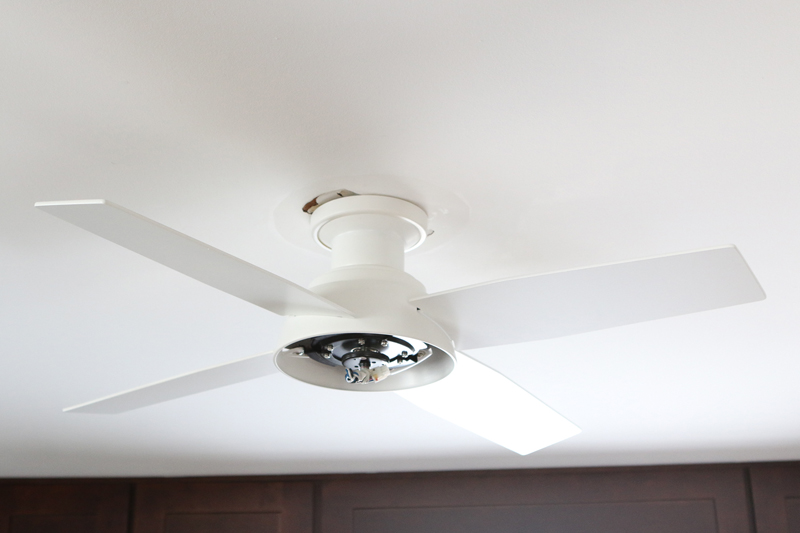
6. Attach blades
Time to make it look like an actual fan! Take your fan blades, and screw them into the canopy, following the directions for your particular model. We suggest placing a towel beneath the setup in case you drop any screws.
7. Add the switch housing
You’ll most likely put your switch housing into place using screws. There will be a wire plug that goes from the upper to the lower switch housing. Make sure this connection is secure, because it’s what turns the fan on.
8. Add cover plate and turn on the power
We’re in the home stretch at this point. Simply put the glass cover over the housing kit until it clicks into place. Now it’s time to turn on the power and test the fan to make sure your hard work paid off.
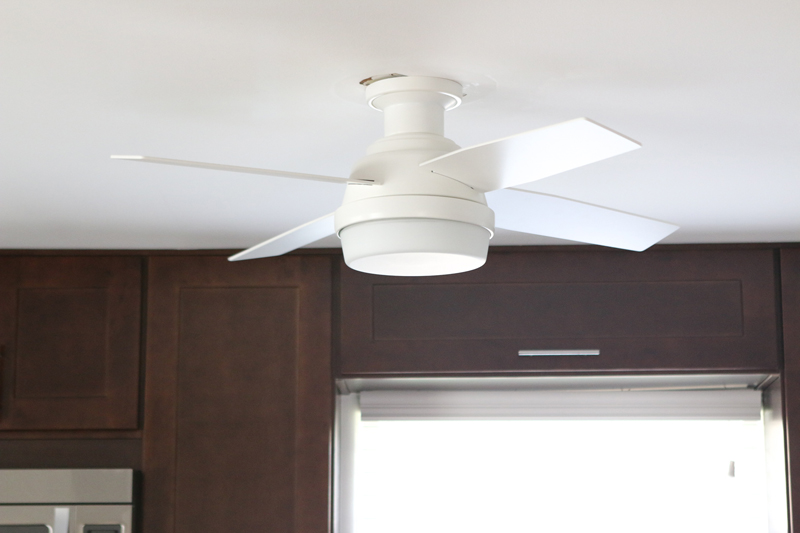
Removing the old fan left us with a bit of damage on the ceiling. A simple patch and paint will make your ceiling look like new, and your updated fan will fit in seamlessly with your home decor.
If you can change a light fixture, you can easily change a ceiling fan. All it takes is a free afternoon and a patient helper to get the job done!
Related:
;)